
LEARNING HOW TO MANAGE IMAGES in Microsoft Word is an essential skill, yet it is not a skill that writers need or call upon every day. After all, writing is all about creating pictures with words. Still, there are times when you’ll need to be able to include pictures in in your documents. You might need to create a flyer for a book launch or reading. You might want to write a legacy letter that includes family photos. You might be self-publishing a memoir and want to include photos, drawings, or scanned images. Or you might simply want to add your headshot to the signature at the bottom of a letter. And, of course, you’ll want to be able to accomplish these tasks easily and without frustration.
At a minimum, you want to be able to:
- Insert images into a document
- Control the way text wraps around an image
- Resize, crop, and format images
- Arrange images using layers
Since each one of these tasks could easily be a blog post of its own, and because these aren’t everyday essential tasks for most writers, I’m going to do something a little different today. Rather than providing a step-by-step tutorial for each of these skills, I’m going to describe the purpose of each task and direct you to various tutorials and other training resources for both Mac and PC that can walk you through just what you need to achieve your purpose.
Inserting images into a document
Word allows you to insert images stored on your computer, on the cloud (OneDrive), or from the Web. You can also copy and paste images from other documents and web pages. Here’s how:
From Microsoft Office
- How to insert pictures in Office 2013 and Office 2016
– - Insert pictures in Word 2016 for Mac. Check out the instructions for Office 2016 for Windows to get the skinny on all the possibilities.
– - Adding pictures in Word 2011 for Mac. This page also gives you directions for how to add images to PowerPoint and Excel 2011.
Positioning and controlling the way text wraps around an image
Once you add an image to your document, you need to understand how to position it exactly where you want it, as well as control how text does or does not wrap around the image. These same principles work with any object, such as a text box or shape.
From Microsoft Office
- Here are step-by-step instructions for selecting and moving an image where you want it on the page.
– - Wrapping text around images. This page for Word 2010, 2013, and 2016 for Windows, describes common scenarios for wrapping text: inline (Word’s default position), positioning pictures in particular areas of a document, such as top left corner and center, using wrap points to customize how the text wraps around an image, and fixing an image so that it doesn’t move.
– - Control text wrapping on the Mac – Word 2016. These pages give you instructions for wrapping text around a table as well as around an image.
–
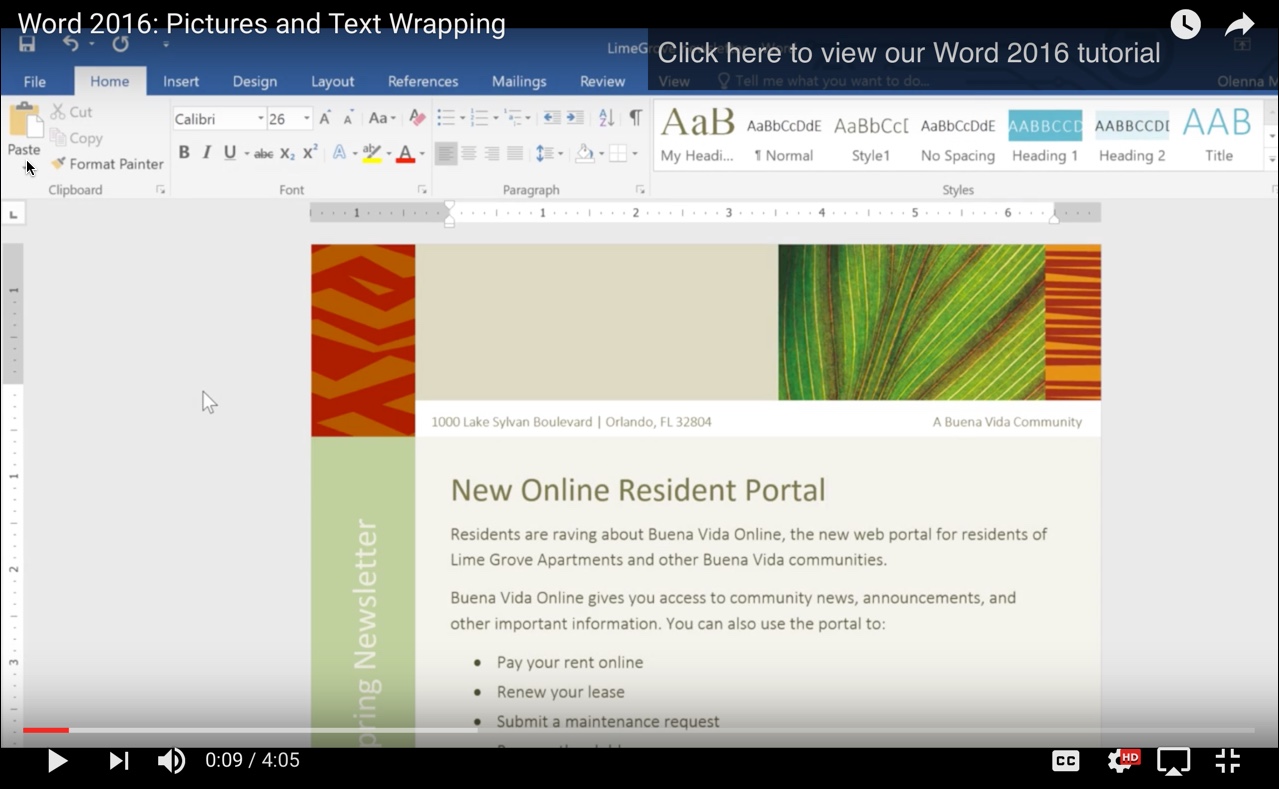
I found an excellent series of Word tutorials on YouTube from GCFLearning. The following video describes how to insert saved images from your computer or from the web and position them within your document. Though the video is made for Word for Windows 2016, the process is nearly identical for Word 2013 and Word for Mac 2016.
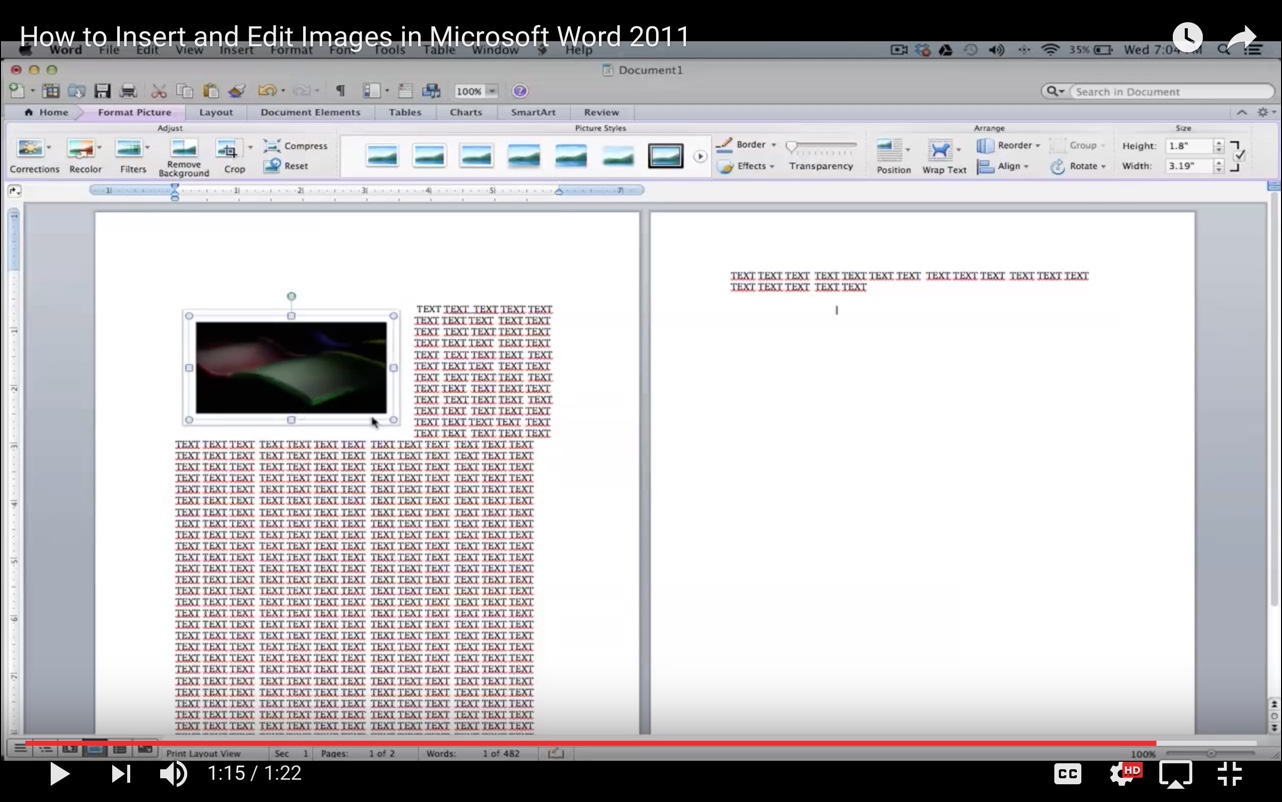
And here’s a super quick tutorial for Word for Mac 2011 (from a different source). The video is sometimes a little pixelated, but the information is good. And these days, it’s difficult to find good information sources for the older Office products.
Resizing, Cropping, and Formatting Images
For more perfect control, you’ll want to be able to resize, crop, and place borders and frames around your pictures. Word gives you additional options, such as changing or controlling colors, sharpness and contrast, adding artistic effects, drop shadows, and so on. While Word doesn’t give you full picture editing capabilities, it comes awfully close to it.
From Microsoft Office
- For all Office 2013 and 2016 software, including Word, How to Crop a Picture or Place it into a Shape
– - For Office 2010
– - And for Word for Mac 2011
–
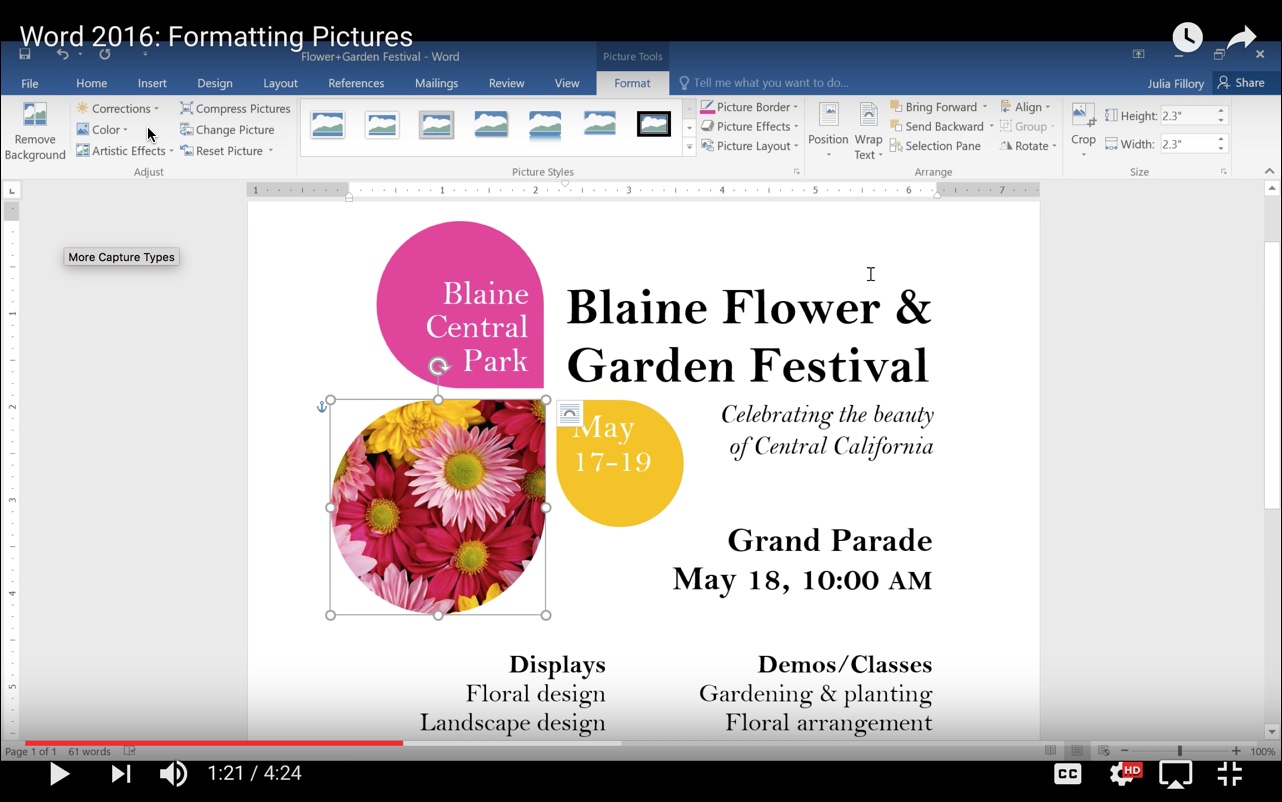
This video tutorial provides a quick overview of how to resize, crop, and format your pictures in Word 2016. Word 2013 is much the same.
Arranging Images
Finally, if you’re working with more than one image or shape, being able to select multiple objects and/or controlling which object is on top will also be important to you.
From Microsoft Office
- Managing object with the Selection Pane – For both Windows and Mac Word 2016
– - Grouping, ungrouping and aligning pictures and objects in Word for Mac.
– - Tips for selecting shapes and objects:
- To select multiple objects: press and hold SHIFT or CTRL/CMD while you click the objects.
- To select an object that is under other objects and cycle forward through the stack of objects: Select the top object and then press TAB.
- To select objects that are part of a group: Select the group and then do one of the following —
- To select one object, click the object
- To select multiple shapes within a group, press and hold SHIFT or CTRL/CMD while you click the shapes
- To cancel the selection of one object at a time: Press and hold SHIFT or CTRL/CMD while you click each object.
And finally this video about how to align, order, and group objects.

Summary
More than simply adding pictures to a document, Word offers the ability edit, shape, and format the pictures to create better flyers and other graphic documents that may assist you in your writing life.
I hope you find these links and resources useful. And I’d like your feedback: Did this resource-based format work for you?


Thank you for this timely post. I’m working on something that needs just what you have presented. Now I know where to go for the help I need.